#Tips #Tricks #Photograph #Jewelry #iPhone #Gem #Gossip #Jewelry #Blog
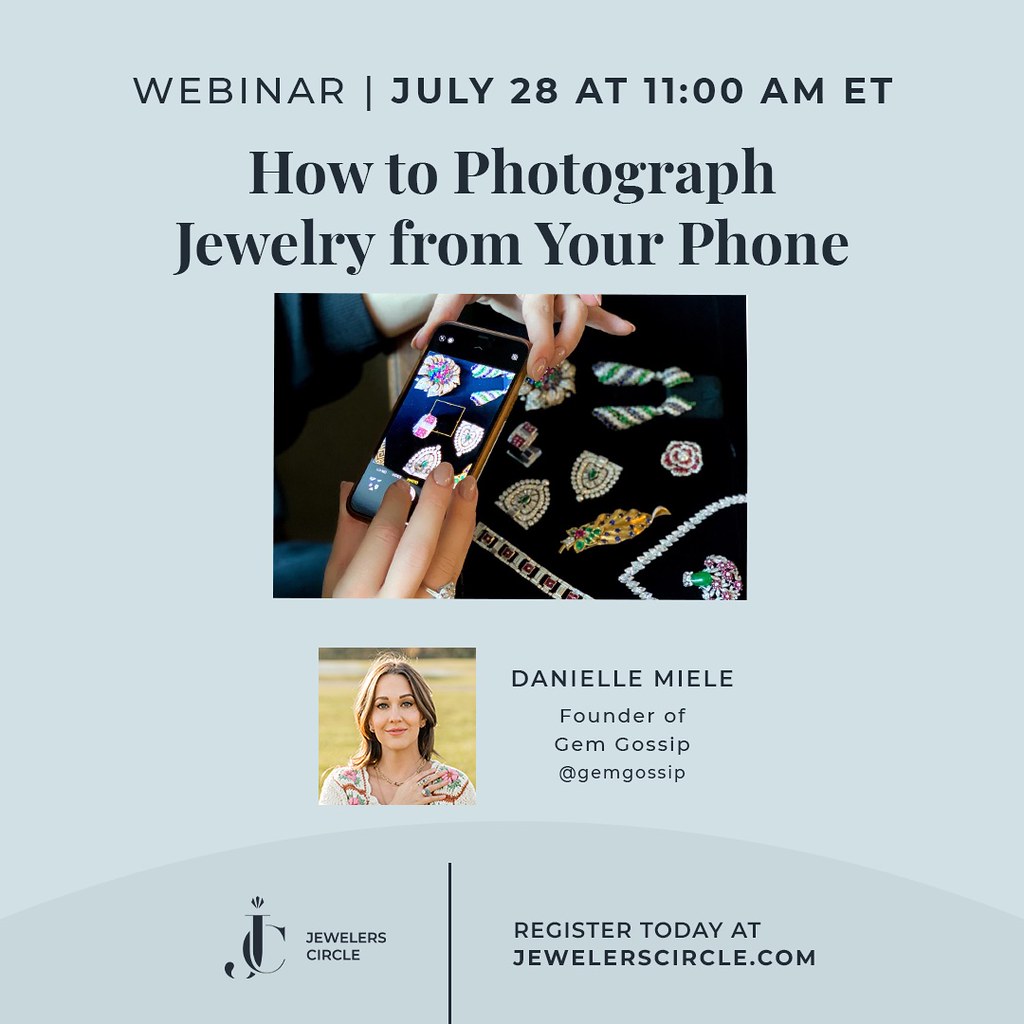
Recently I was asked to share my tips and tricks to photographing jewelry using an iPhone and to share my knowledge in a webinar format. Jewelers Circle is an amazing online tool that features a marketplace where jewelry industry insiders can go to trade, buy and sell fine jewelry, like antique & vintage pieces, bespoke pieces and even watches. They hosted the webinar, with many of their members attending, but it was also open to the public. I had a lot of fun putting this information together and it took me quite awhile, so I decided to also post here since I know many of my followers would love to know!
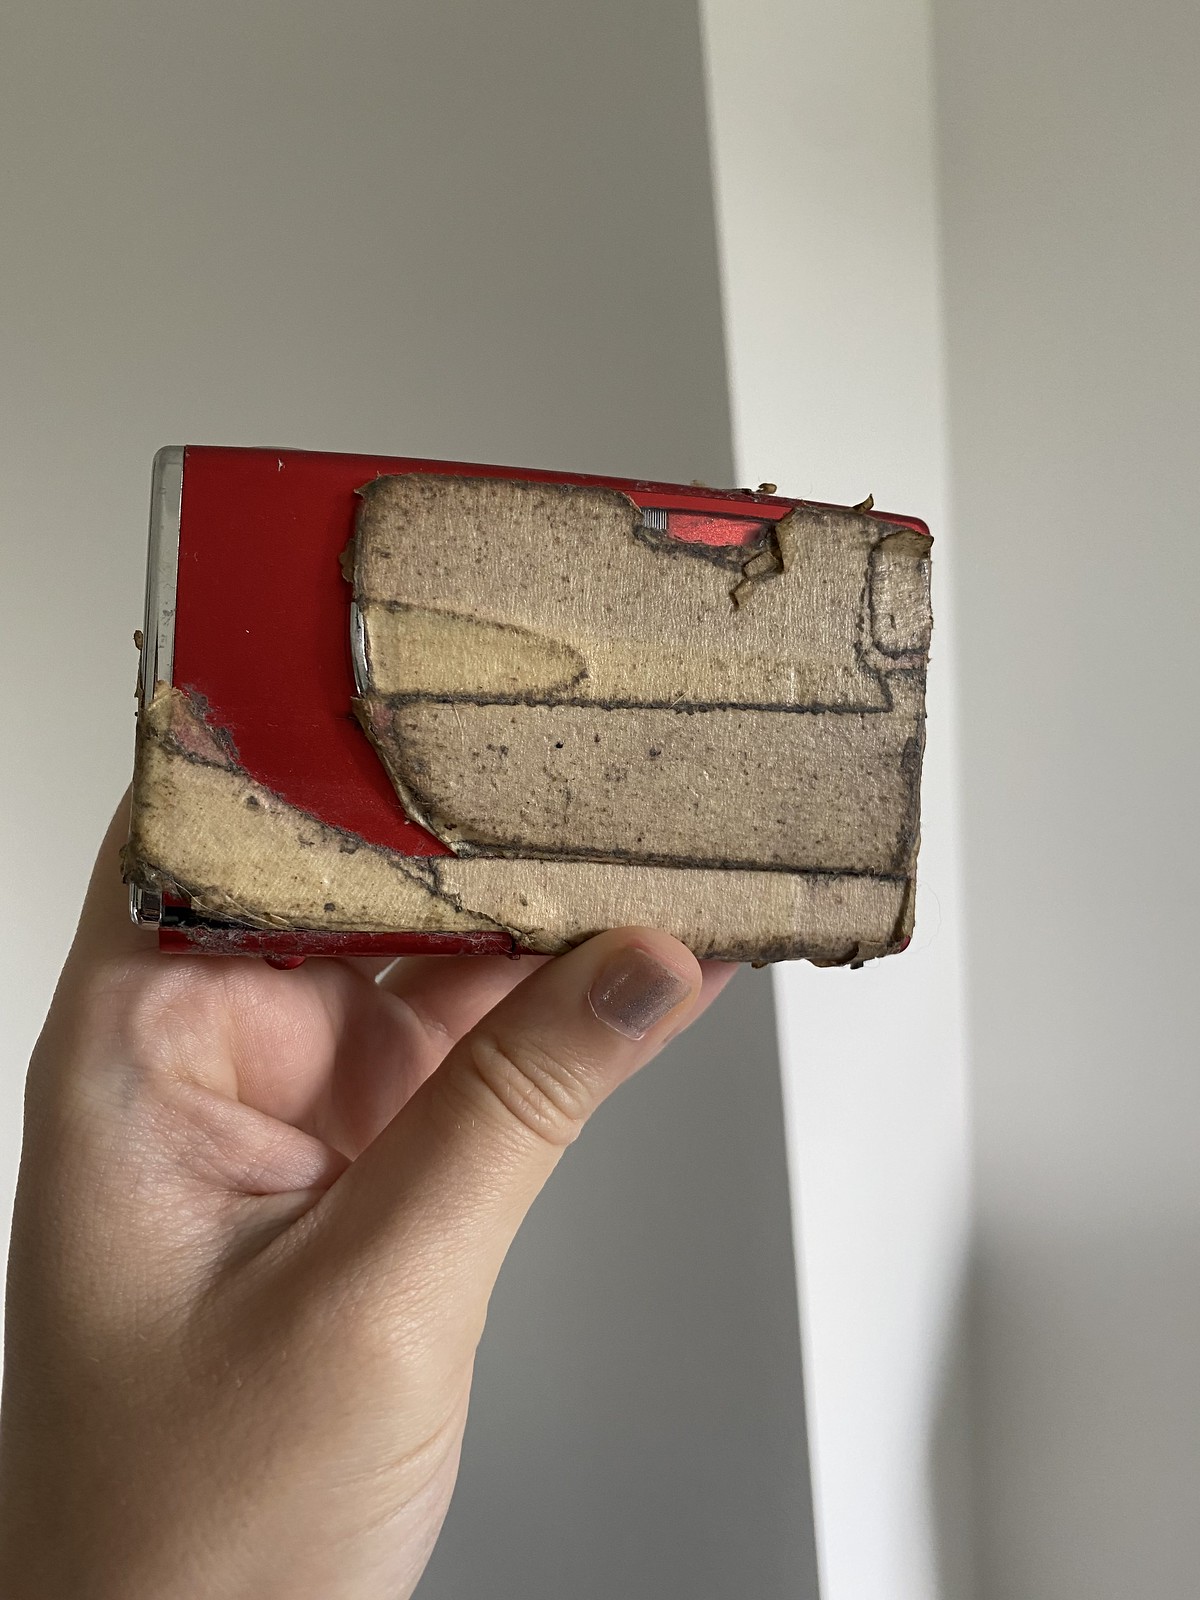
First off, my love for photographing jewelry is actually what landed me my first “official” job in the jewelry industry (not too many people know this). So back in 2008, when I first began this blog, I was mostly using images I pulled from the internet to illustrate my blog posts. These photos typically consisted of high-res imagery, meaning a white background. These images are pretty boring…and that’s not what I wanted my blog to be about — I was envisioning more styled photos, jewelry being worn…necklace layers, ring stacks…all of that! So if I couldn’t find those types of photos online, I had to create them myself. I didn’t own an iPhone at the time, so I went to Best Buy and purchased a digital camera. I ended up going with a bright red Fujifilm. As you can see from the photo, I still have this camera and it looks like a hot mess! That’s because I put masking tape all over it. Why? Because the bright red exterior was reflecting into the jewelry I was photographing — everything from the polished gold to the diamonds had a red hue and reflection. Masking tape solved the problem!
So this leads me to my first tip when photography jewelry:
1 – Clothing and other bright things can REFLECT onto jewelry and diamonds – so wear plain white and limit noisiness of what’s behind the lens. Metals and diamonds are actually touchy subjects and hard to photograph, surprisingly.
Phones have come a long way since 2008 and the camera on today’s iPhone’s is pretty amazing. About 70% of my photos on my Instagram feed are taken with my iPhone…sometimes I shoot photos with both my nice Canon camera and my iPhone and have preferred the iPhone photos over the expensive camera.
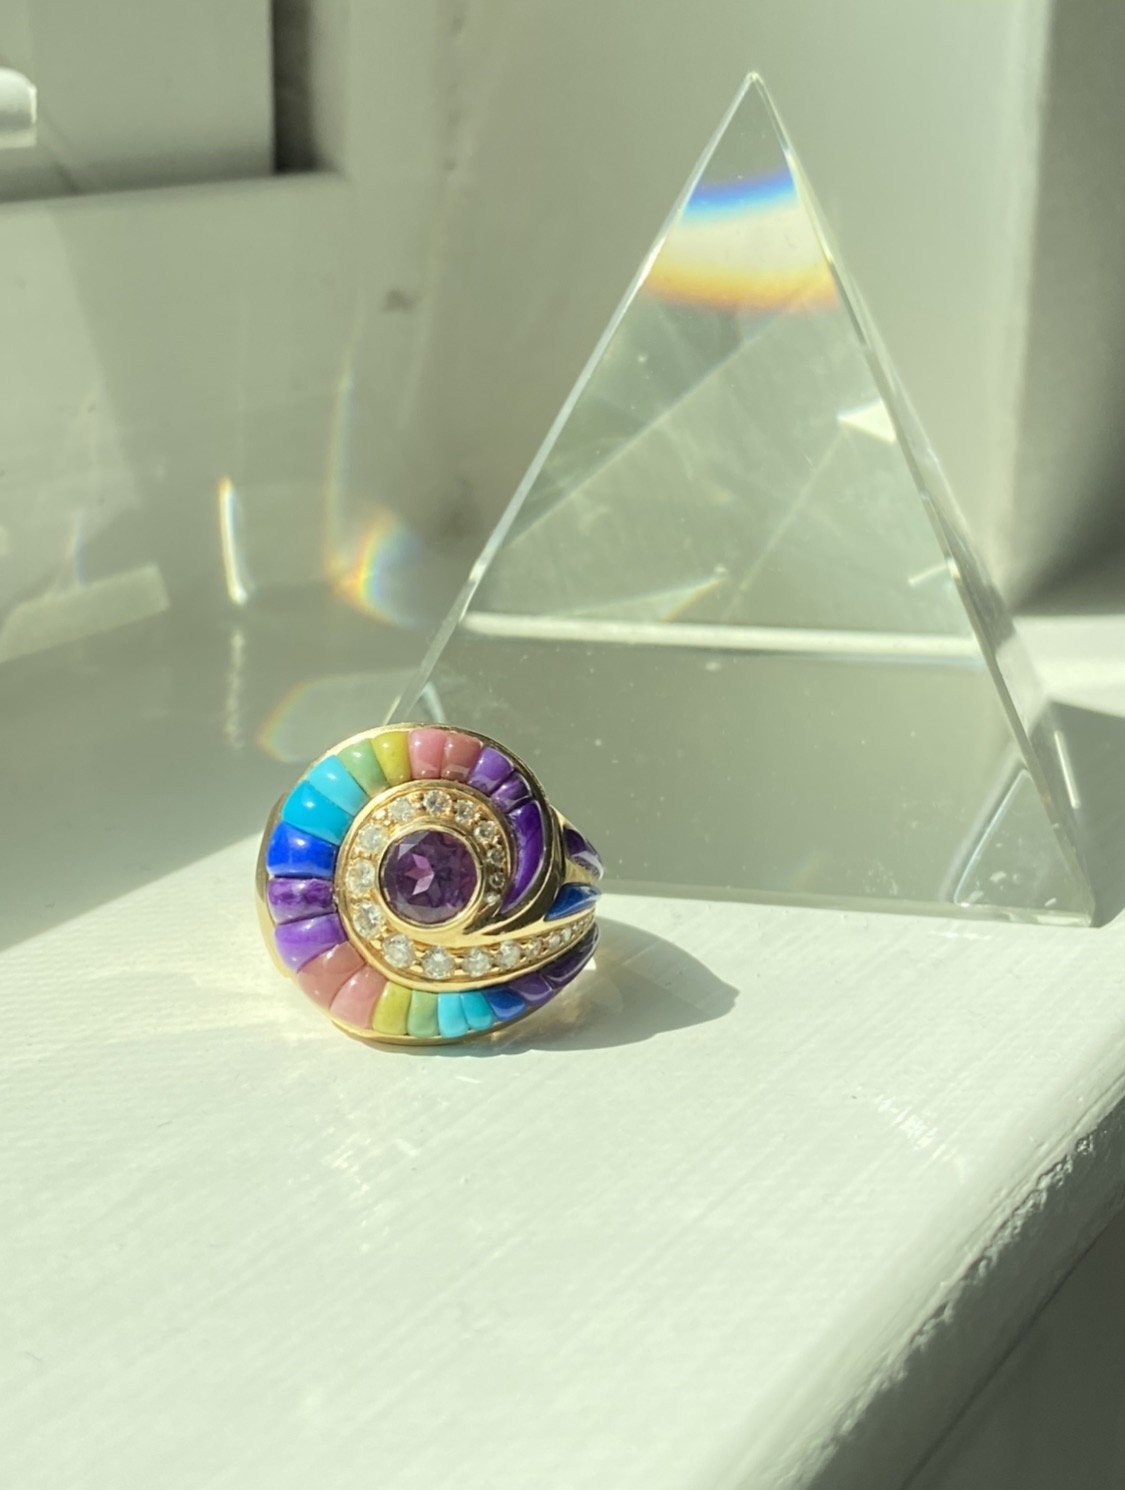
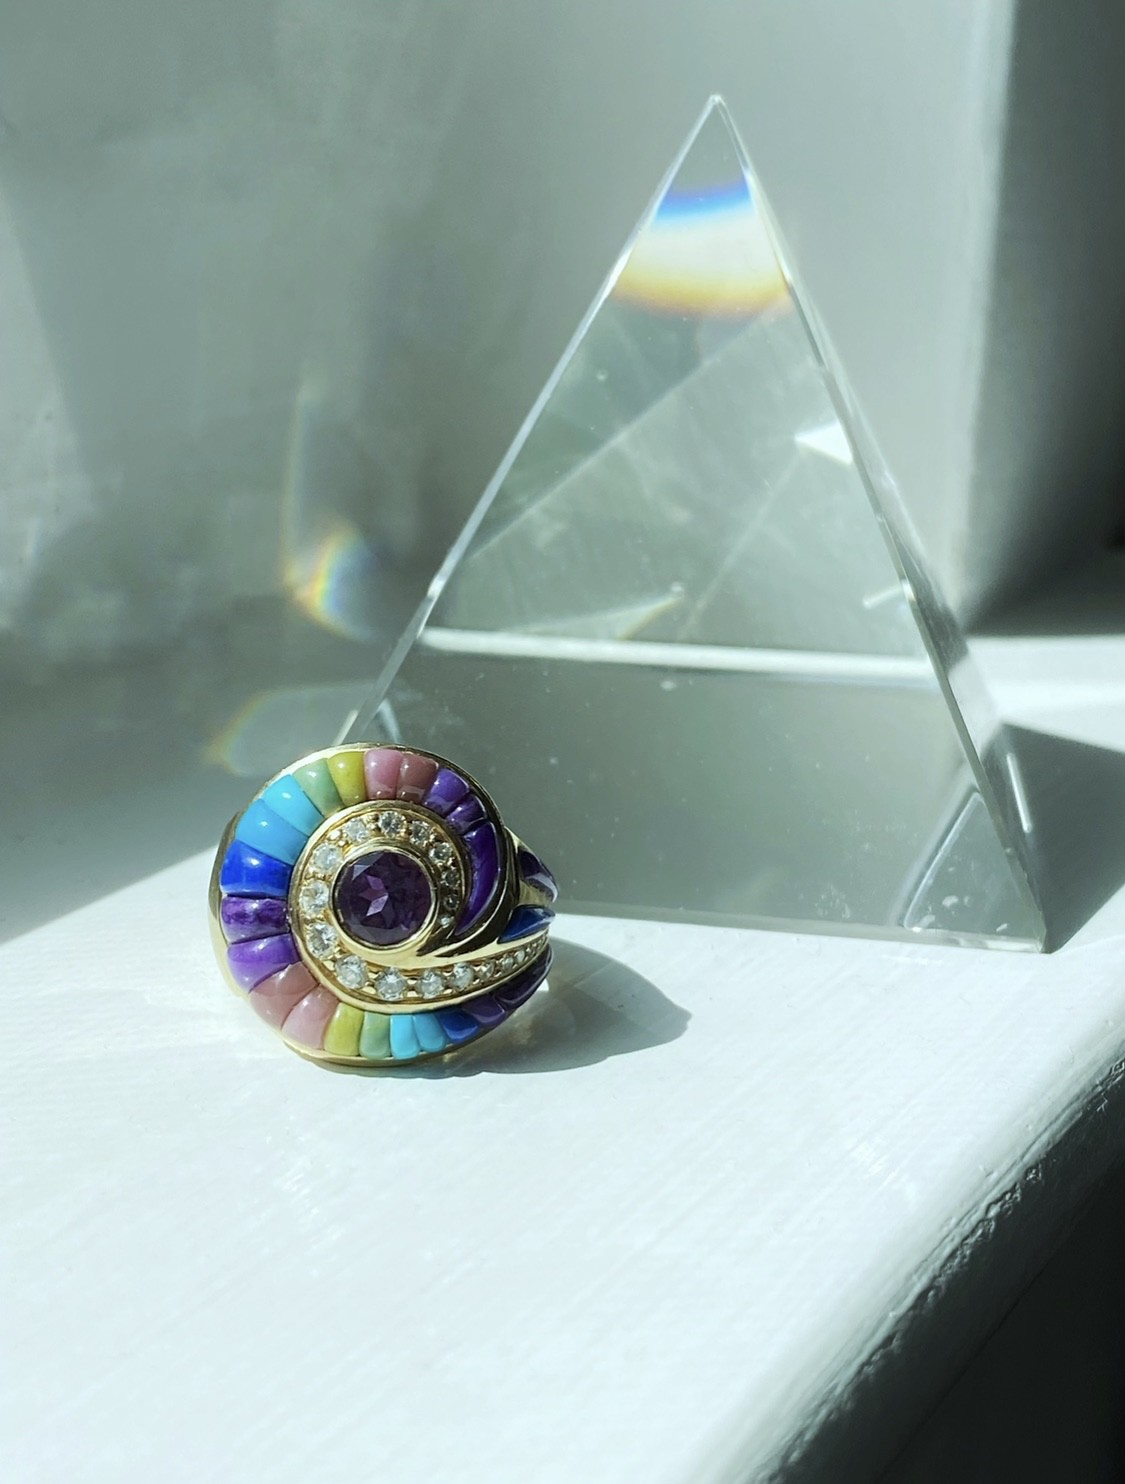
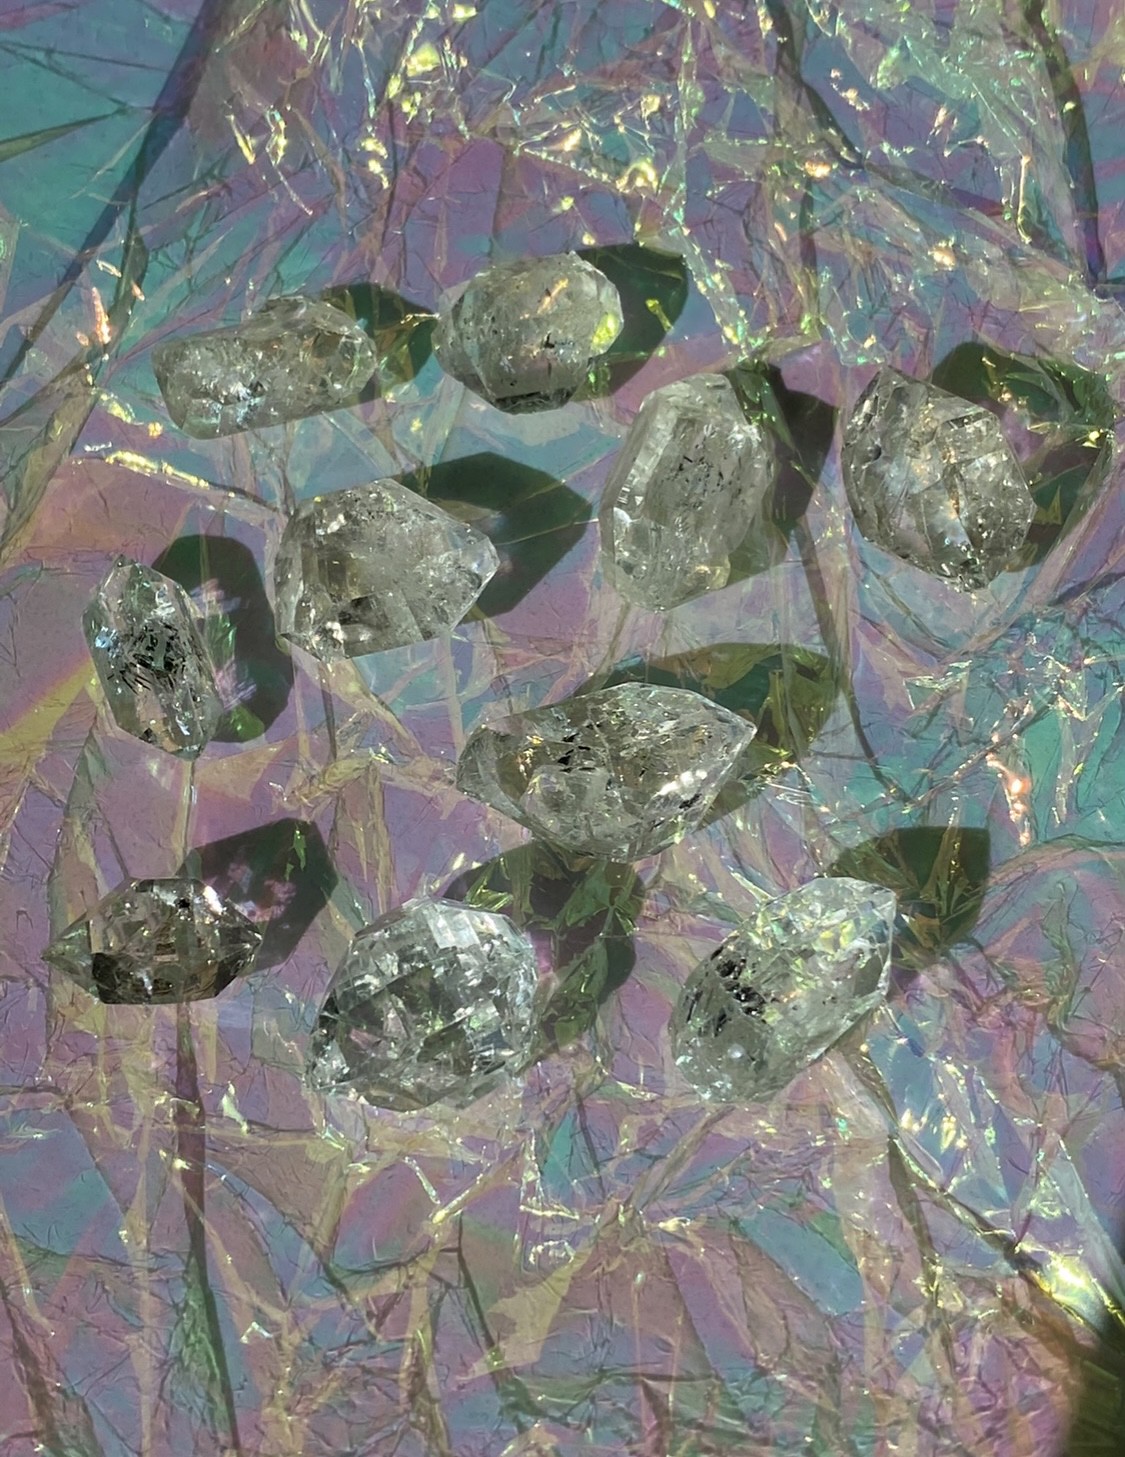
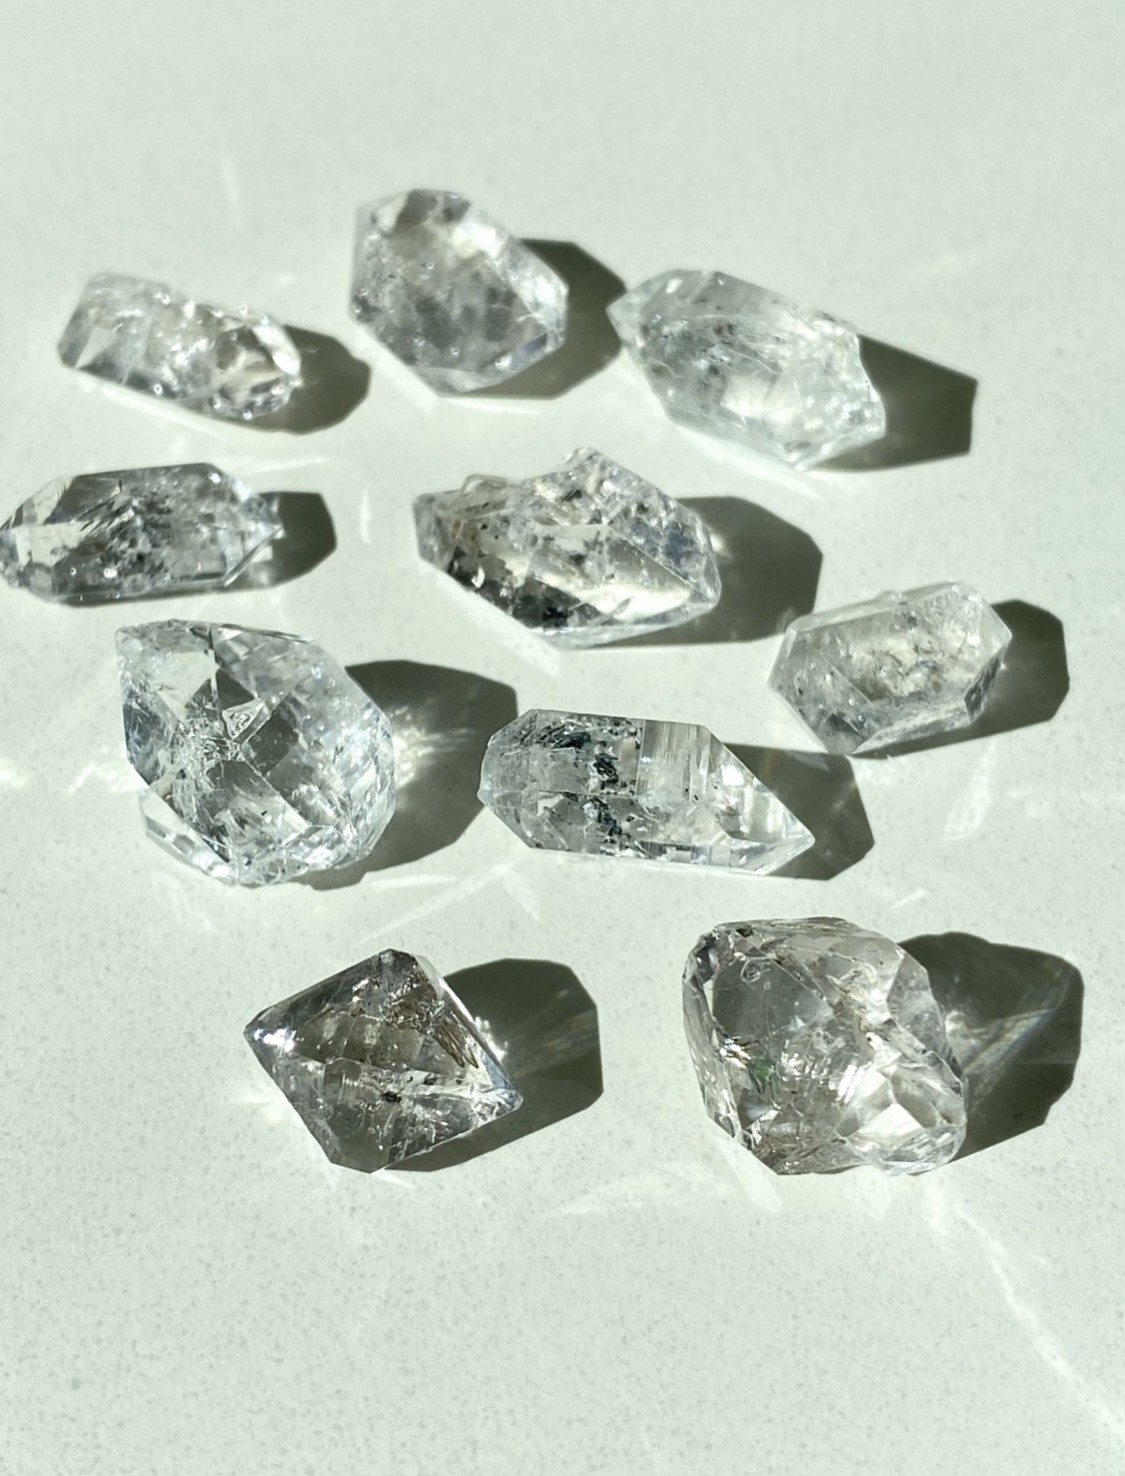
Next, I’d like to talk about the most important thing you’ll need for photographing jewelry — SUNLIGHT.
2 – Biggest tip when shooting photos with an iPhone is LIGHTING – I recommend using the sunlight whenever possible. Use shadows to your advantage to create moody and artistic photos.
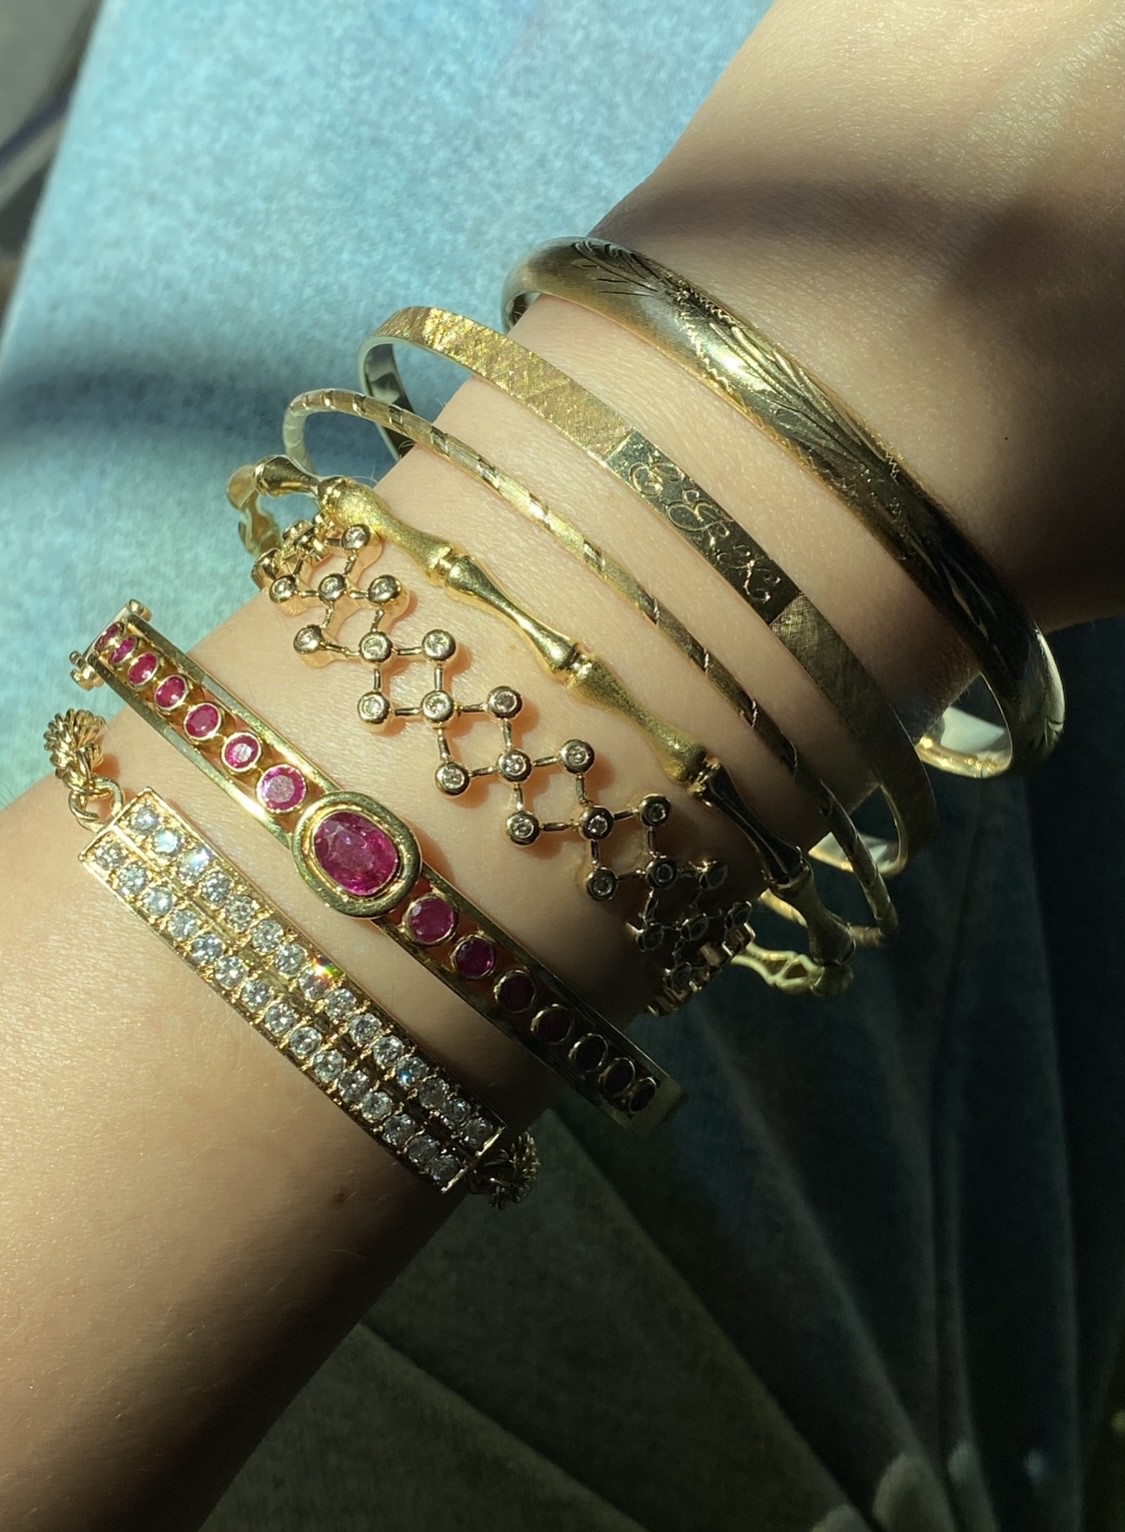
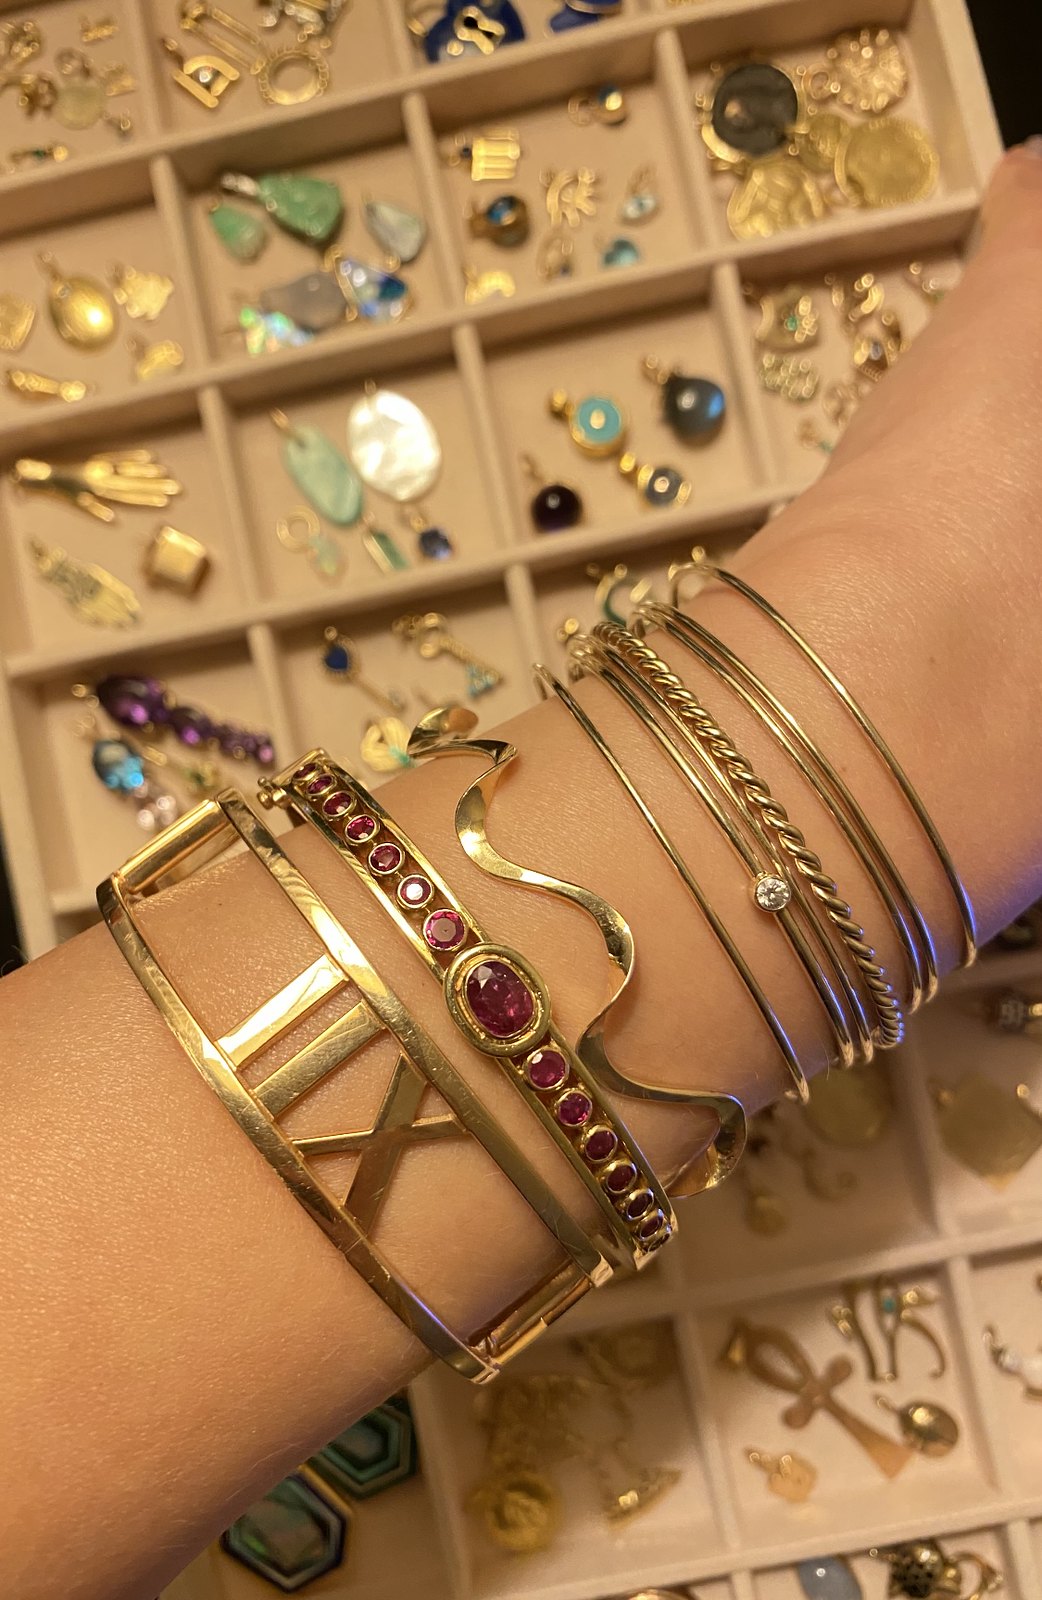
Below are some great examples of photos I’ve taken with sunlight vs. artificial lighting. I prefer cool-toned photos over warm or orangey-hued photos, so sometimes I tone down the “warmth” in the final edit.
3 – Gear … here are a few things I recommend having to help create your best photo!
Sunlight is number one 🙂
Lighting for selfies, videos — I don’t like ring lights, I prefer the more “umbrella” looking ones
Tripod for iPhone –
Microfiber cloth – dusting off finger prints on the jewelry and iPhone lens
Backgrounds – tiles, different materials, clothing even
Props – ring boxes, antiques, ceramics, etc.
YOU! Your audience likes to see the jewelry worn. Jewelry comes to life when modeled. Don’t want to be in front of the camera? Hire a mode! Nails should be clean … moisturize hands using a clear facial moisturizer like Caudalie (lotion is too heavy and oily, will leave a residue on your jewelry).
4 – Shot list…I recommend making a shot list!
Making a shot list is so important – it’s like a to-do list but for when you’re in your creative spirit and maybe unsure where to begin or what to do aside from having the jewelry and props ready.
Before making a shot list, sit down and think What performs well in general, What performs well for your niche (jewelry), What is currently trending
Then create a shot list. Mine is broken down into 30 photos, based off of 30 days of content for one entire month. I like to shoot photos for two days with the goal of creating 15 perfect photos each day — it is easily doable and helps dissect what seems to be a daunting task “Take enough photos for an entire month of content” which seems like a lot, but when you break it into 15 photos per day…not bad.
I break it down into categories, like rings, necklaces, charms, bracelets, earrings and misc.
From there, I break those down into a rough number of how many photos I’d like for each category, this is totally random.
Then within each category, I jot down general photo composition ideas:
Rings – showmeyourrings style — one handed or two handed….rings in a box…solo ring shot for those showstopper pieces
Necklaces – necklace stack photo using my own neck as model, a flat lay of necklaces
Bracelets – wrist stacks….zoomed in or standing and showing shoes/floor
ETC – I make sure to add random shots in my 30 photo allotment. Photos that a fun bonuses to share, like a photo of my son, a selfie, something I’ve been working on, a jewelry book I’m currently reading, my crystal collection…just anything that represents you and your interests that your audience might find cool.
5 – Shooting with your iPhone: The iPhone I have is an iPhone 11 Pro, so my experience and everything I’m basing my tips on will have that model in mind. I’ve been wanting to get the latest iPhone and see what it can do, but I haven’t purchased it yet. I’m sure there’s newer advances and if you do have a newer version, your photos and videos might be even better!
Either way, these tips will hopefully help you no matter what model you have:
1 – When you have your shot ready and you open up the camera, tap on the jewelry you want to take a photo of — this is your main focal point and the tapping will direct your lens to focus on that. When you do this, a sunshine looking icon will appear, which you can drag upward or downward. This controls the exposure and is a very important tip as it can change the look of your photo dramatically.
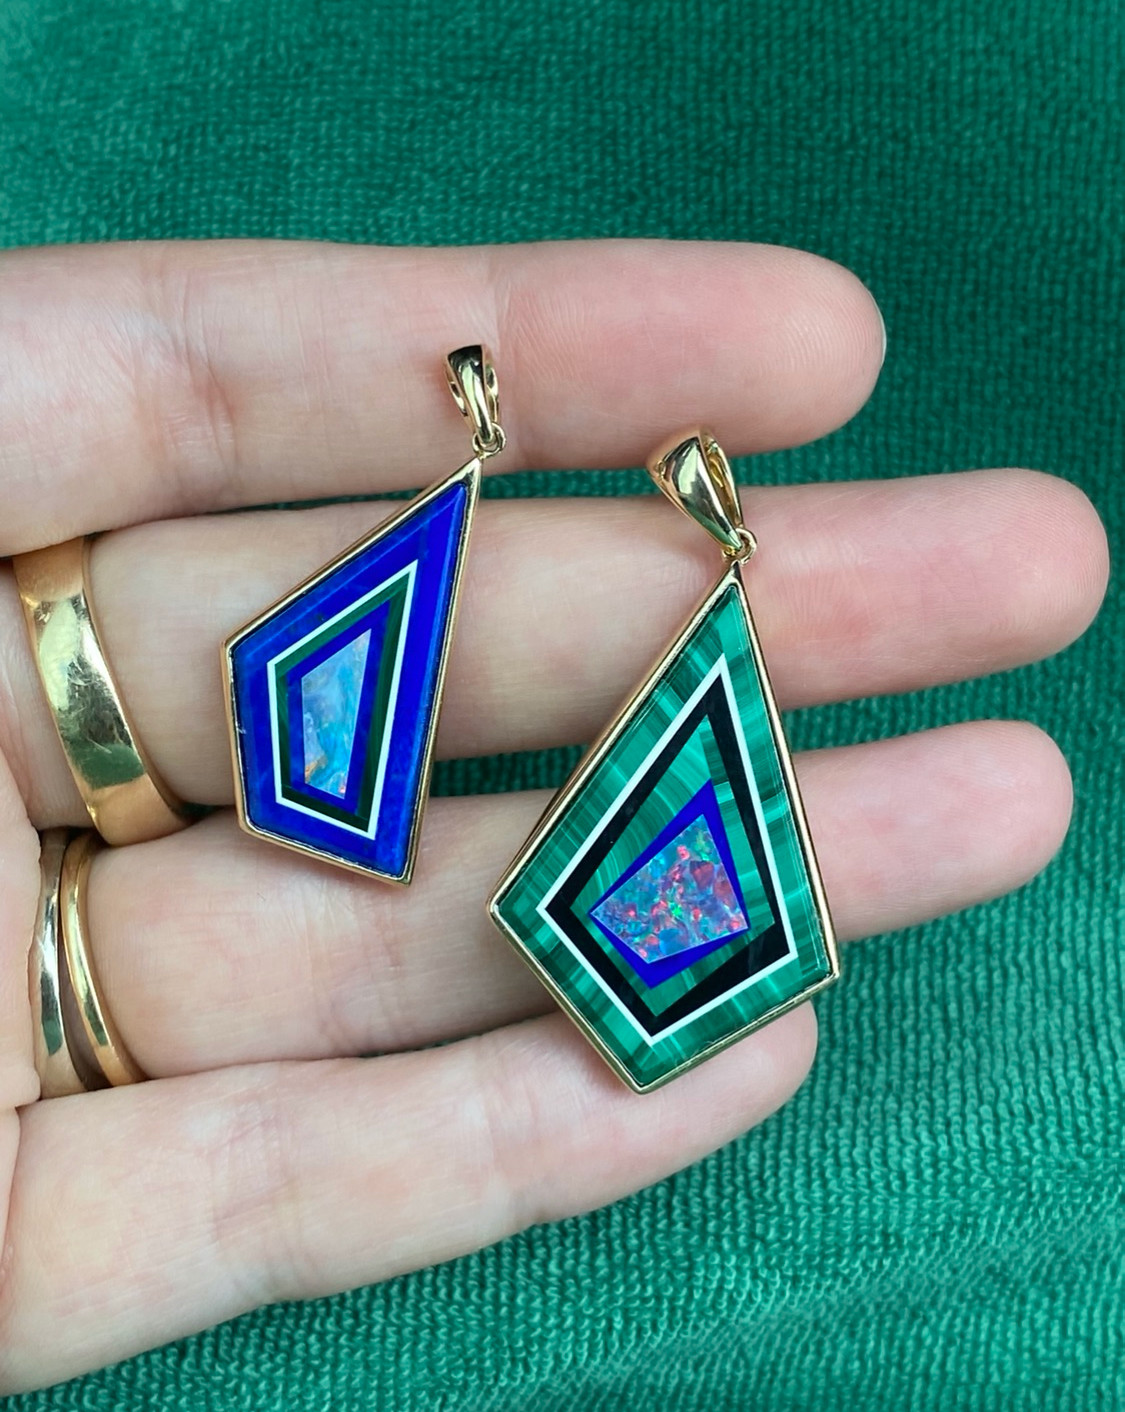
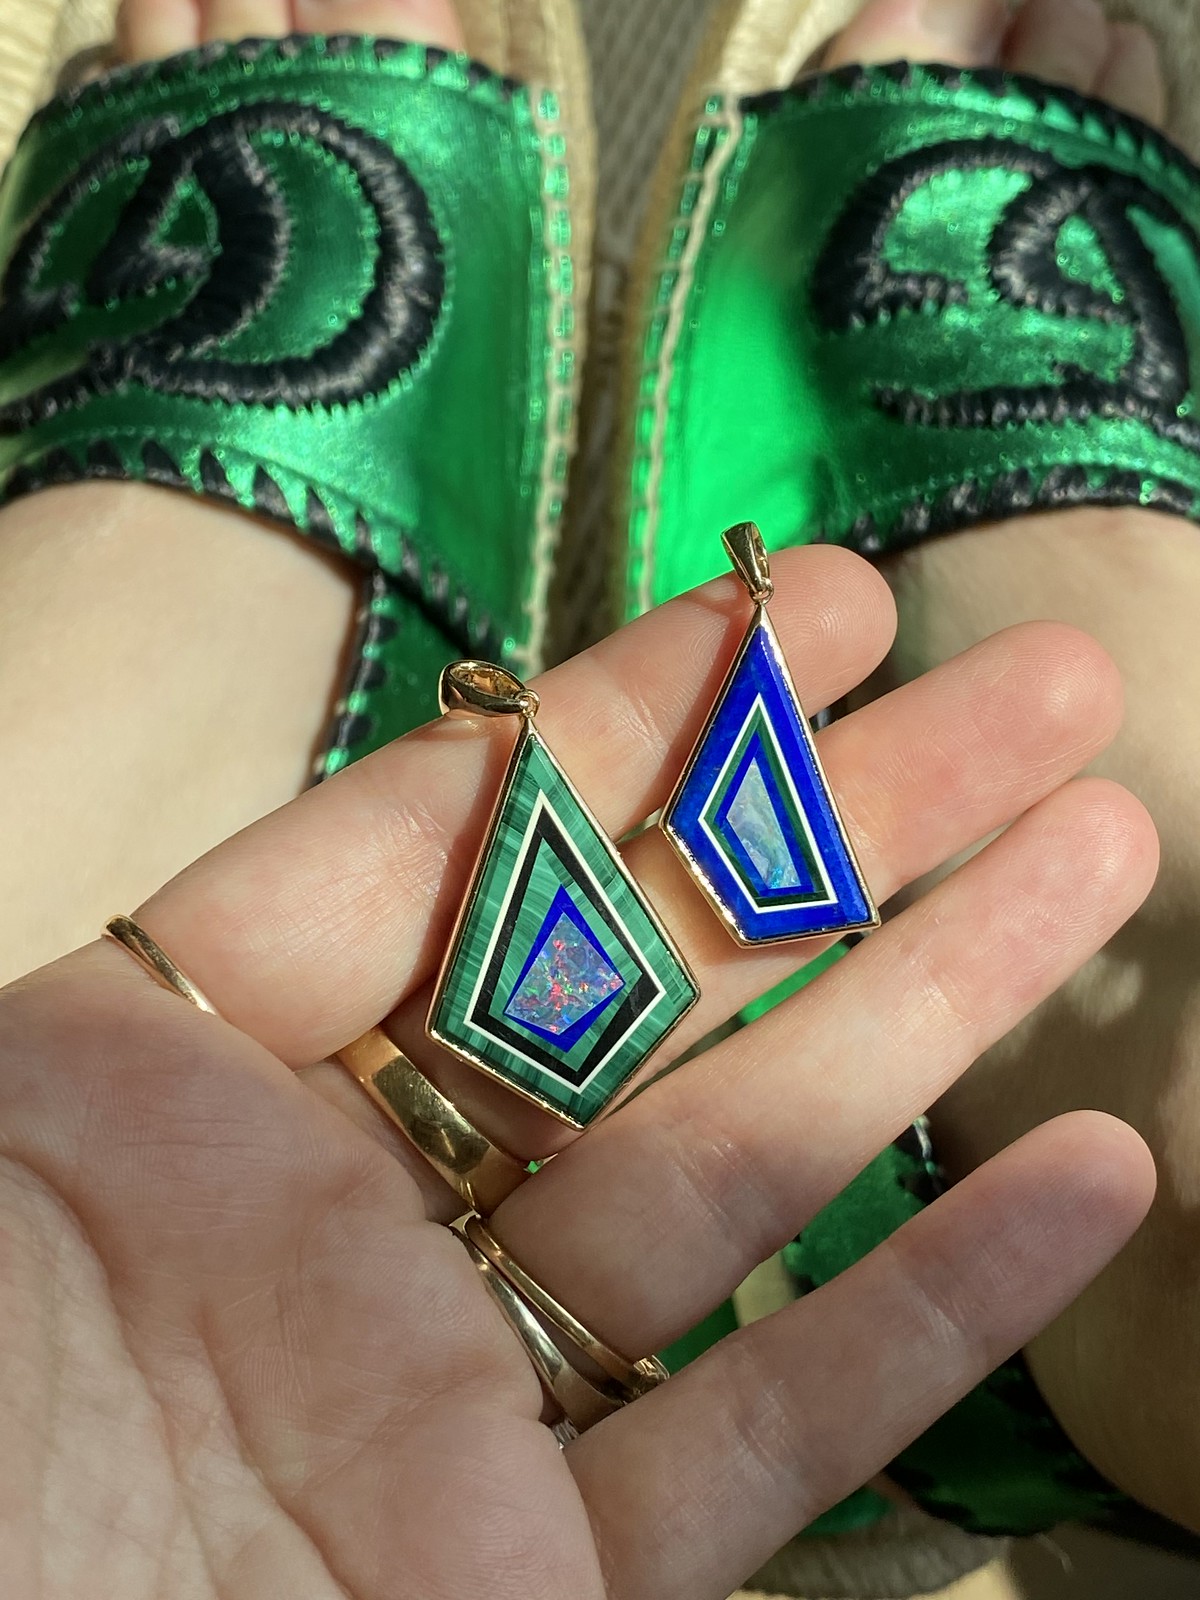
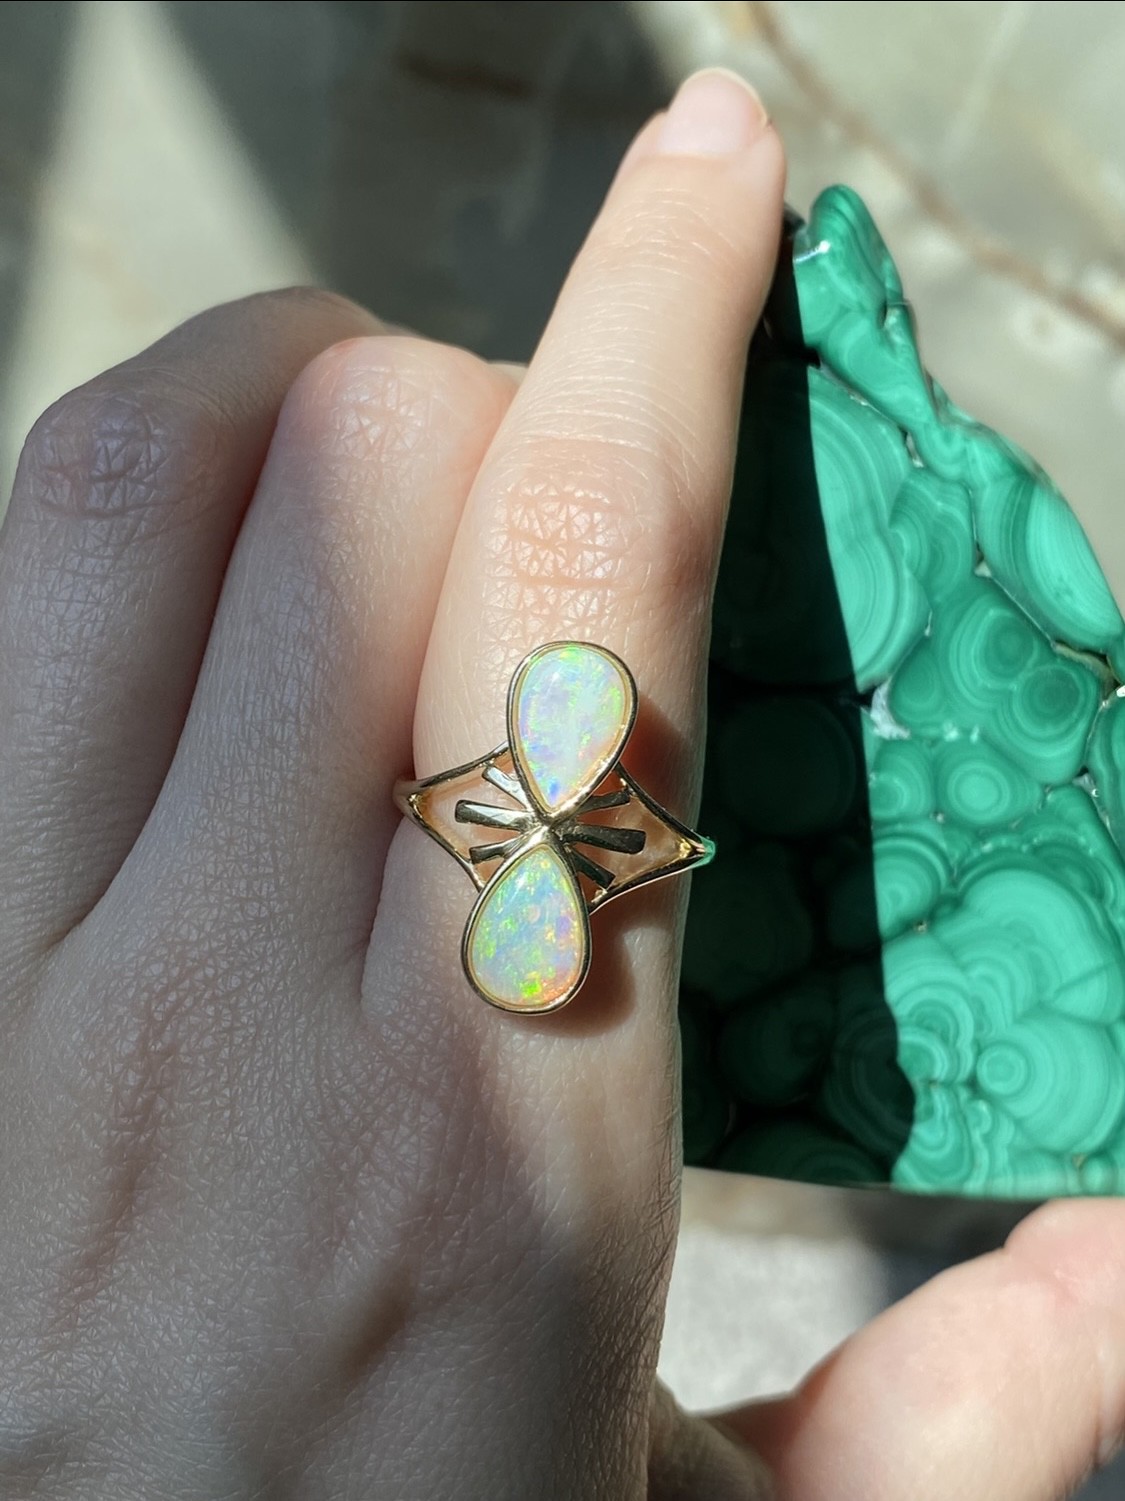
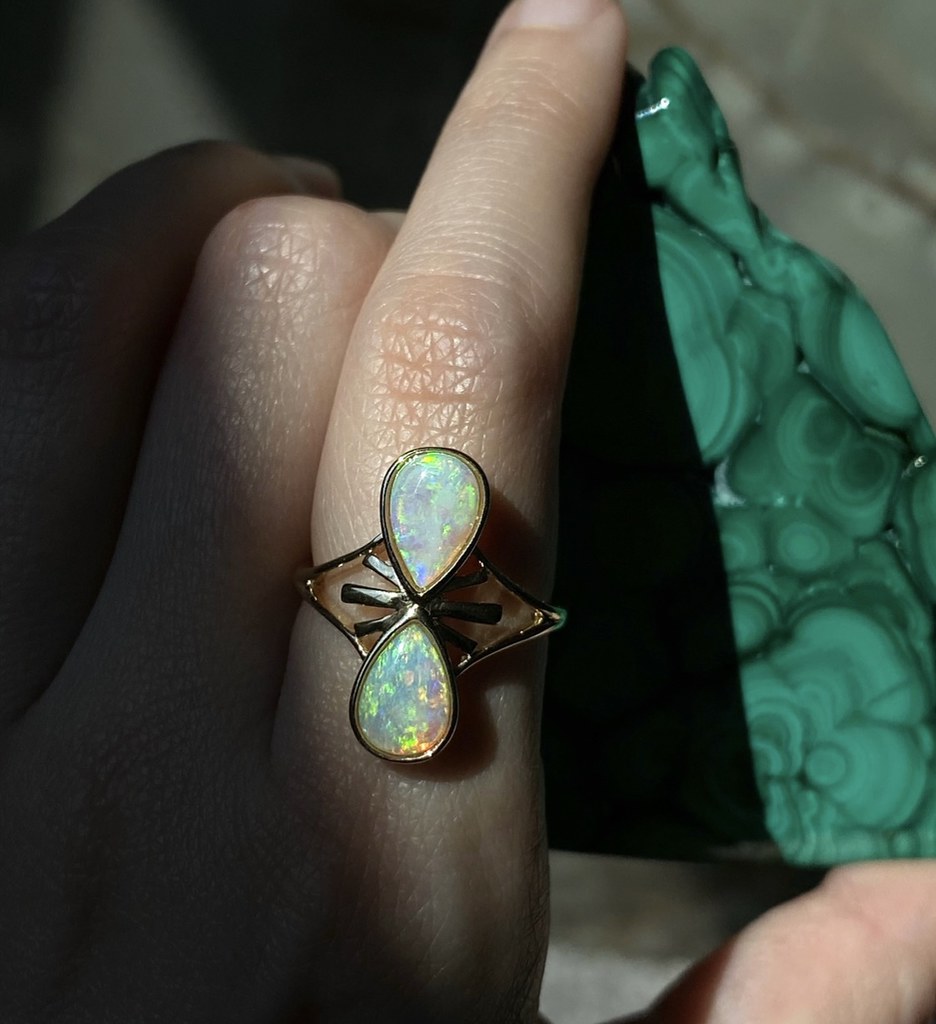
When I photograph opals, I like to drag the exposure downward – the play of color on the opals is more dramatic this way. Makes them pop more.
When I photograph a flat lay of gold jewelry, I like to drag the exposure upward – brightens the whole frame and you can see things better.
2 – Zoom – the “ .5, 1x, 2” that comes up above your photo/video/slo mo options …use that to your advantage. I like hitting the “2” for that automatic zoom – it often crops out the shadow of my hand when I’m holding the object I’m trying to photograph. I also just have noticed the photos are more crisp.
3 – for videos, I’ve changed my settings from what your iPhone is originally programmed to, to have a higher quality of video. So top right, I change to 4k instead of HD – just tap on it to change, super easy. And next to that is the frames per second – I have mine set to 60, which is the highest it can go. This ensures that the video you take is the best quality possible for what you’re working with.
6 – Apps …photo editing apps
I really like the editing tools that the iPhone comes with right in the camera roll. So to pull up this, you just open your camera roll to a photo…and bottom will have some options….go to Edit. Sometimes Auto does a really good job and I’m always surprised by it….otherwise I pick and choose different options and play around with the photo. I usually brighten it a bit and tone down the Warmth…I personally like cooler toned photos, but that’s just me.
I like to use the app called Snapseed if I need to blur things out or erase certain blemishes, like lint, wrinkles or lines, background noise, etc. You can also edit tone, colors and lots of other things with Snapseed, it’s a great editing app.
I personally don’t like the filters or what influencers call “presets” – I have seen lots of trends throughout my many years on Instagram with trendy filters or a certain look/aesthetic. I don’t think it fits with our jewelry niche – you want your pieces to come off as real as possible with the actual color of the gem displayed, rather than a filtered photo of it. You want your photos to be classic and timeless. I want to be able to take a photo I posted 5 years ago and repost it today, with it still looking like I took it today. Filters often “date” your photos.
Vintage 1980s looking photos are currently trending, but I’m personally not a fan for this trend when photographing jewelry. Maybe for a Story …but not on the main feed or certainly not an e-commerce page.
Hope this helps and feel free to ask me any questions over on Instagram – you can DM me at @GemGossip


