#Safely #Clean #Costume #Jewelry #WorthPoint

The first thing to know about cleaning old costume jewelry is that it’s not a one-size-fits-all proposition. Before you begin, you must consider the piece’s components, age, delicateness, and whether it needs a thorough bath or simply a light cleaning. If I had to make one blanket statement regarding cleaning jewelry, though, it would be this: less is more.
Always start with the simplest methods first, then decide if you need to do more. For pieces that seem beyond your skill set or extremely valuable, either pass them on to a new owner or hang on to them as they are and let someone more experienced decide how to do further cleaning.
COVERING THE JEWELRY CLEANING BASICS
There are several common cleaning issues that people often ask how to handle. These are some of the methods I use for cleaning jewelry:
Dust
Many pieces of old jewelry are just a little dusty. You can easily remedy that with the swipe of a soft brush. There is no need to invest in anything expensive; a soft toothbrush will do. If the surface dirt needs a little moisture to budge, lightly dampen the toothbrush with water or a bit of glass cleaner like Windex and try again. Never use products containing bleach when cleaning jewelry.
Green gunk
There are two different types of green gunk you’ll run across on old jewelry. The first is kind of gross, but you’ll see it on the backs of earrings frequently. That stuff is a mixture of wax, body oils, cosmetics, and general grime that built up when the original owner wore the jewelry. The buildup may take a little more cleaning power than a damp toothbrush to remove, but a mild soap and water solution will usually work. Scrub it with your trusty toothbrush and rinse with cool water.
The second type of green gunk, verdigris, can grow anywhere on metal jewelry. It is corrosive and will eat away at the metal or plating, so removing it as soon as you notice it is wise. Vinegar works for this purpose, or you can mix some mustard and ketchup together if you need something with a vinegar base that will stay in place on a particular spot. Leave it on for ten to fifteen minutes, rinse with cool water, and repeat until the verdigris is gone.
Dark and cloudy stones
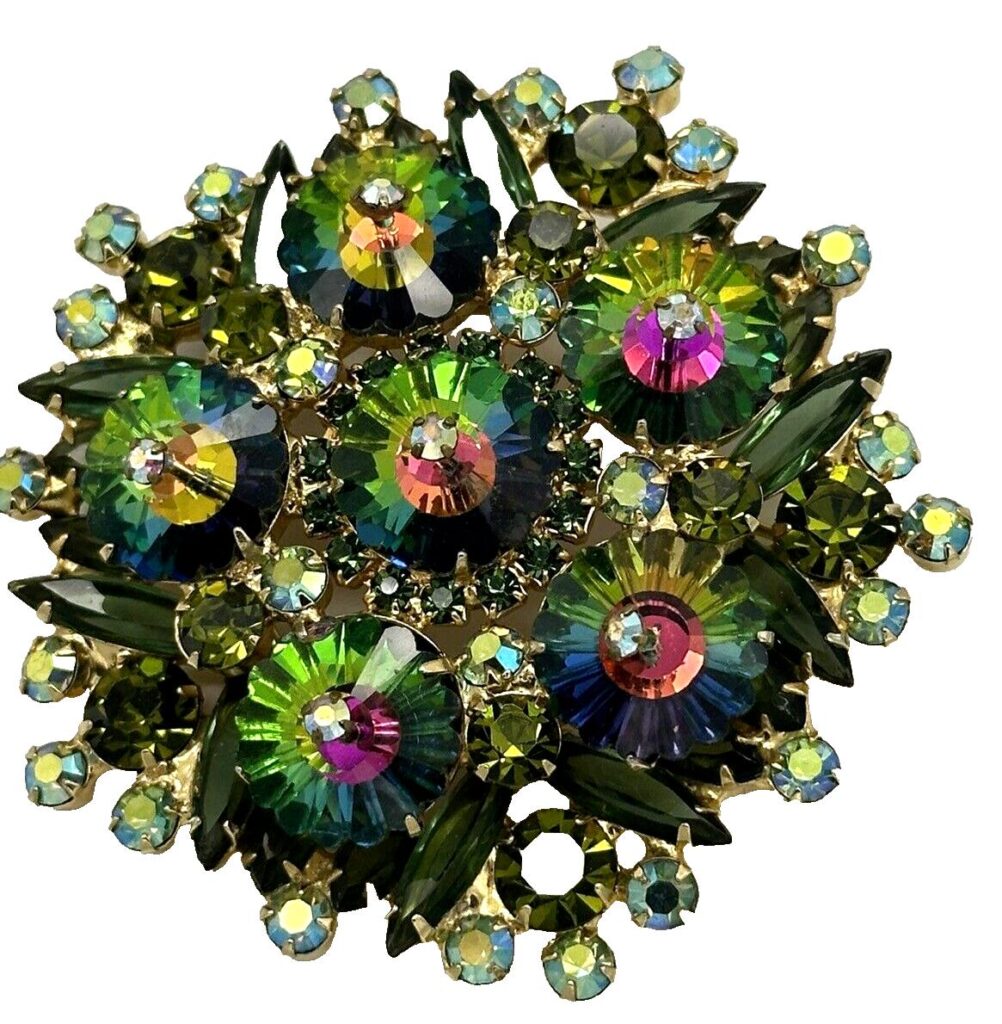
Cloudy or darkened rhinestones are often a result of plating solutions that were not rinsed thoroughly with water from stone cups when the jewelry was newly made. That makes the foil on the stones deteriorate over time. Unfortunately, there’s not much you can do about that other than replace the stones.
MORE ON CLEANING RHINESTONES
To wet or not to wet—that’s often a point of contention when the topic of cleaning rhinestones comes up. As I mentioned previously, I’ll often use a dry or dampened toothbrush to avoid wetting a piece of old jewelry completely.
However, I’m not afraid to use mild soap and cool water to give rhinestone jewelry a complete bath when necessary. I do, however, go into the task knowing that if the foil backing on any of the stones has started to deteriorate, wetting the piece can make it darken further. Nevertheless, sometimes a piece has so much grime on it that I have no choice but to wet it and live with the consequences. Most of the time, it’s perfectly safe.
Most everyone agrees that using ultrasonic cleaners with rhinestone jewelry is a terrible idea. The vibrating motion can easily loosen stones and other components.
The topic of polishing cloths also comes up frequently. The ones I prefer are called Sunshine Polishing Cloths. I use them on sterling silver and other metals to remove tarnish or brighten the finish. When using a polishing cloth, you want to end up with a nice sheen to the high points and some evidence that the piece is vintage by leaving the patina in the recesses. Never polish away all the detailing. With silver and gold-plated metals, be sure to go easy with any type of polishing cloth since they will eventually wear away the plating to reveal base metal.
Now, you might be wondering about using dip-type cleaners like Tarn-X. For the most part, I don’t use them. I don’t want to ruin silver jewelry by removing all the patina. With that said, I do keep a small bottle on hand for times when a sterling piece has oxidized so badly that I can’t avoid giving it a quick (and I mean very quick!) dip and then immediately wash it away with cool water. That removes enough of the tarnish to allow me to finish polishing it with a cloth.
Copper jewelry is a different animal. Most pieces made during the mid-century era have a clear lacquer over the copper to keep it from tarnishing. I’ve found it’s best to use a dampened toothbrush to lightly remove any dust from these pieces. You don’t want to wear away that protective layer by cleaning it too vigorously.
Cleaning Plastics
For most plastics, including Bakelite and Lucite, I’ve had good luck cleaning them with mild soap and water. I would issue caution with pieces that combine plastics with wood as water can damage the wood finish. Stick with your dry or slightly dampened toothbrush in those instances. If your piece has any accents like threads holding components together, painted eyes, etc. take care with those as well because water can indeed damage them.

There will always be antique and vintage jewelry pieces that present cleaning challenges beyond these basics. But now you’ve got a good idea about where to begin when evaluating a piece that needs to be spruced up a bit before you list it online or tuck it away in your personal jewelry cache.
Pamela Siegel is a freelance writer and author who has been educating collectors for more than two decades. In addition to three books on topics relating to antiques and collectibles, she frequently shares her expertise through online writing and articles for print-based publications. Pamela is also the co-founder of Costume Jewelry Collectors Int’l (CJCI) and the proprietor of Chic Antiques by Pamela.
WorthPoint—Discover. Value. Preserve.


